




Service support



Shrink disc installation and removal
-
Installation sequence
-
Shrink disc are supplied ready for installation before getting out factory,so they do not need to be disassembled prior to first installation:
-
1、 SD series need to remove spacers placed between collars for protection during transportation.
-
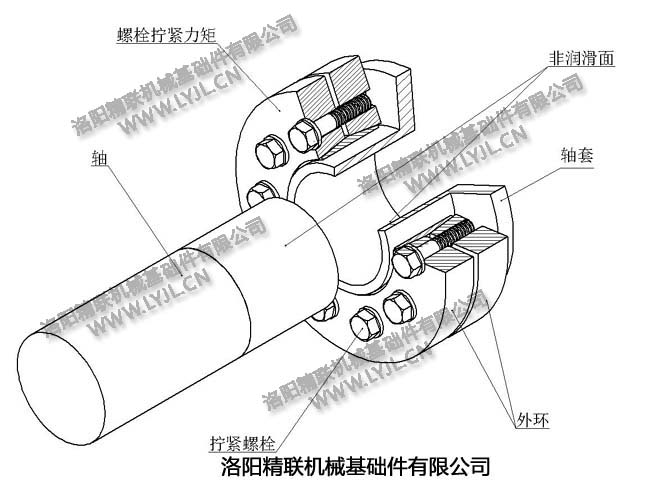
2、Take any three locking screws forming the points of an equilateral triangle,as e.g. screw 1、5 and 9 in fig. 12 and tighten them slightly until the inner ring can still just be turned.Heavy tightening force can cause plastic deformation of inner ring.
3、 Slide shrink disc over the hub.The outside surface of hub can be greased.Notice: Never tighten locking screws before fitting shaft into hub.
-
4、 Degrease shaft and hub bore thoroughly using ccl4 aqueous solution or acetone.
-
5、Insert shaft into hub and make hub sliding over the shaft.
-
6、Using torque wrench to tighten all locking scews.The way is tightening gradually in counter-clockwise direction, increasing a quarter of rating torque every time.Tightening all screws safely needs several cycles.
Check tightening torque Ma using torque wrench.It is very important,and two shrink disc must keep the same distance.
-
-
Removal sequence
1、Release all tightening screws gradually.Each cycle should release screws a quarter of one revolution.Do not remove locking screws completely.
-
2、Remove shaft or pull hub from the shaft.Firstly, any rust formed on shaft in front of hub must be removed.
-
3、Pull shrink disc from hub.
4、Removed shrink disc need not to be taken apart completely or lubricated before re-stallation.Only very dirty shrink disc should be cleaned and lubricated.Taped face should be greased using MoS2 lubricant.Screws should use lubricant containing Mo.Damaged O-ring must be replaced.